How to Set Up a Conditional Image Generation Node?
1. Apply ControlNet

Load ControlNet model, which can connect multiple ControlNet nodes.
Parameter:
strength: The higher the value, the stronger the constraint on the image.
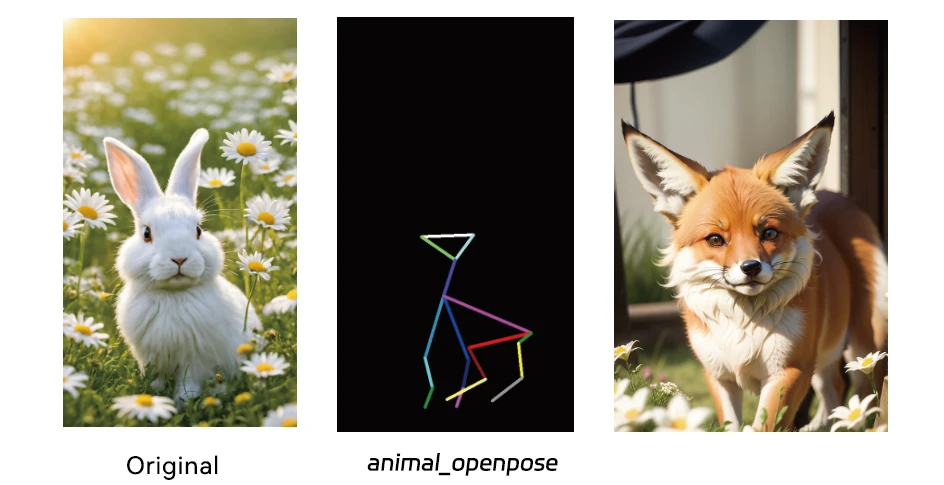
*The ControlNet image should be the corresponding preprocessed image, for example, the Canny preprocessed image corresponds to the Canny preprocessed graph. Therefore, it is necessary to add corresponding nodes between the original image and the ControlNet to preprocess it into the preprocessed graph.
2. CLIP Text Encode(Prompt)

Input text prompts,including positive and negative prompts.
3. CLIP Vision Encode

Decode the image to generate descriptions (prompts), then convert them into conditional inputs for the sampler. Based on the decoded descriptions (prompts), generate new similar images. Multiple nodes can be used together. Suitable for transforming concepts, abstract things, used in conjunction with Load Clip Vision.
4. CLIP Set Last Layer

Clip Skip, it is generally set to-2
5. GLIGEN Textbox Apply

*Guide the prompts to generate in the specified portion of the image. The origin of the coordinate system in ComfyUI is located at the top left corner.
6. unCLIP Conditioning

The images encoded through the CLIP vision model provide additional visual guidance for the unCLIP model. This node can be chained to provide multiple images as guidance.
7. Conditioning(Average)

Blend two pieces of information based on their strengths. When conditioning_to_strength is set to 1, diffusion will only be influenced by conditioning_to. When conditioning_to_strength is set to 0, image diffusion will only be influenced by conditioning_from.
8. Apply Style Model

Can be used to provide additional visual guidance for the diffusion model, especially regarding the style of the generated images.
9. Conditioning(Combine)

Blend two pieces of information.
10. Conditioning(Set Area)

Conditioning (Set Area) can be used to confine the affected region within a specified area of the image. Used together with the Conditioning (Combine), it allows for better control over the composition of the final image.
Parameter:
width: The width of the control region.
height: The height of the control region.
x: The x-coordinate of the origin of the control region.
y: The y-coordinate of the origin of the control region.
strength: The strength of the conditional information.
The origin of the coordinate system in ComfyUI is located at the top left corner.
As shown in the figure: set the left side to "cat" and the right side to "dog".
11. Conditioning(Set Mask)

Conditioning (Set Mask) can be used to confine an adjustment within a specified mask. Used together with the Conditioning (Combine) node, it allows for better control over the composition of the final image.


