The models ( Checkpoints ) I use:
Step 1 - Sweet-mix v2.2-flat.
Step 2 - AAM - AnyLoRA Anime Mix - Anime Screencap Style Model - v1
-------------------------------------------------------------------------
Here's how I do it and what settings I use:
--- STEP 1 ---
ControlNet -> Canny -> upload a photo for the reference
Mode -> Default
Model ( Checkpoint) -> Sweet-mix v2.2-flat.
LoRA -> of your choosing.
Basic settings:
Image quantity -> 1-4
Image mode -> standard
Image size -> should be already there and have the same dimensions as your reference photo but smaller in scale. You can manually change it, but I don't recommend doing so. You'd get either monstrous anatomy or the character would be partially out of frame.
ControlNet:
Type -> Canny
Preprocessor -> Yes.
Control mode - > Prioritize pre-processing.
Preprocessing model -> There's only one to choose.
Preprocessor resolution -> 768
Control mode -> Prioritize pre-processing image
ControlNet weight 0.4 - 0.45 ( you can go all the way up to 0.65, it's an option, but not every LoRA / checkpoint combination would allow that without the penalty of merging with the reference image. The higher the weight the higher the chance of the reference image bleeding into the generated image.
Advanced config:
Negative prompts -> check the negative prompts section.
Embedding -> leave it empty
VAE -> kl-f8-anime2
LCM -> off
Sampling method -> DPM++ 2M
Sampling steps -> 20
CFG Scale -> 7
Seed -> -1
Clip skip -> 2
PROMPTS SECTION.
LoRA prompts - always go to its civitai page and copy them from there, as well as see the LoRA's recommended weight. It's usually 0.8 - 1.
Pose/Angle prompts: This you'll have to write yourself depending on what you want the character of your choosing to do/show. Here's what I use:
Both arms up - negative prompts: EasyNegative, (backlighting:1.4), washed away colors, dull colors, drawn by bad-artist, sketch by bad-artist-anime, multiple girls, lowres, text, error, missing arms, cropped, worst quality, low quality, normal quality, jpeg artifacts, signature, watermark, out of frame, blur, blurry, 3D, realistic, (open mouth:1.2), from above, from side, from below.
Both arms up - positive prompts: 1girl, solo, anime screencap, frontlighting, (simple background, black background, dark background:1.3), masterpiece, absurdres, hdr, soft light, best quality, detailed, highres, shiny skin, shiny hair, (looking at viewer, eye contact with viewer:1.5), smile, smug, (closed mouth:1.2), arms up, raised arms, armpits, in the center, symmetrical, upright,
One arm up - negative prompts: EasyNegative, (backlighting:1.4), washed away colors, dull colors, drawn by bad-artist, sketch by bad-artist-anime, multiple girls, lowres, text, error, missing arms, cropped, worst quality, low quality, normal quality, jpeg artifacts, signature, watermark, out of frame, blur, blurry, 3D, realistic, (open mouth:1.2), from above.
One arm up - positive prompts: 1girl, solo, anime screencap, frontlighting, (simple background, black background, dark background:1.3), masterpiece, absurdres, hdr, soft light, best quality, detailed, highres, shiny skin, shiny hair, (looking at viewer, eye contact with viewer:1.5), smile, smug, (closed mouth:1.2), arm up, raised arm, armpit, (from side from below:1.5)
Start generating. You'll be getting low-res raw images. Generate until you get a low-res image that resembles what you want the most. Download that image.
--- STEP 2 A ---
Model ( Checkpoint ) - AAM - AnyLoRA Anime Mix - Anime Screencap Style Model - v1
LoRA - the same you used for the step one.
Use ControlNet - "Tile Resample". Upload the image you got from the step 1.
Preprocessor - Yes. Control mode - Prioritize preprocessor. ControlNet weight 1.
Image mode - Ultra High Quality.
Beyond that, everything else stays the same, you don't need to change anything.
--- STEP 2 B --- ( NOTE: I haven't used it in months, I don't know how relevant this still is. )
For the sake of speed, simplicity and comparison, do the --- STEP 2 A --- first. After that click repeat then send to img2img.
Denoising Strength 0.5-0.65. You don't need to change anything else and your low-res raw image from the step 1 should be already there. Generate.
You'll get one of these three outcomes:
1. Both A and B outputs are good, but style is different, either slightly or considerably.
2. Both A and B outputs are good and there is no difference between the two, or too small to notice.
3. One output is good and the other is bad.
Just generate until you get what you want. Be patient, it's a numbers game. You might get what you want on your very first attempt or you might have to generate 10+ times before you finally get a good image.
-------------------------------------------------------------------------
EXPLANATION AND ADVICE SECTION.
I changed the model I use for Step 1 to Sweet-mix 2.2-flat because it gives way less bad anatomy and then, during Step 2, the AAM - AnyLoRA Anime Mix v1 model synergizes with it very well. The output is very consistent style/quality-wise.
What are those "rare exceptions" I mentioned at the beginning? Sometimes LoRA is made in a way that it produces good images only when used with the model ( checkpoint) it was trained on. It's exceptionally rare from my experience. If you encounter situation like this, simply use the model it was trained on. LoRAs' creators almost always mention the model they used.
You can mix and match models ( checkpoints ) for Step 1 and 2 to get unique end results.
(word/phrase:1.5) <- Strength adjustment with which AI pays attention to a particular prompt. You can do it with multiple words/phrases at once, like this - (simple background, black background, dark background:1.3). It works both for positive and negative prompts. 1 is default, 1.5 is the safe upper limit adjustment at which AI is *PRACTICALLY* guaranteed to draw what you want ( 9 out of 10 times ), without doing weird things. Adjusting any higher might cause it turning image into something Vincent van Gogh would be proud of.
Adding "anime coloring" prompt is usually the last resort option and most of the times you're better off trying different LoRA. Unlike "anime coloring", the "ANIME SCREENCAP" prompt seems to help out a lot with generating anime style images consistently.
----------------------------------------------------------------------------------------------------------
FAQ SECTION.
"I got a good STEP 1 image, but STEP 2, both A and B turns it into a bad one, what to do?" - Change Image mode from "Ultra High Quality" to "High Quality".
"During the step two, the image I've got has too many details / overly bad anatomy." - Drop the LoRA's strength by 0.1 and try to generate again. Keep repeating until the problem goes away.
"During the step two, the image I've got is too sharp / the colors are oversaturated." - Drop CFG scale by 0.5. Keep repeating until the problem goes away.
"The character I keep getting looks nothing like on Civitai's pictures / in the anime." - try to use the model ( checkpoint ) Lora's creator used to train it on. If the Lora's creator didn't specify it in the Lora's description, click example images on Civitai and see it there. ( NOTE: sometimes doesn't show, mostly when the image was "generated through an external generator". )
"The character wouldn't strike the pose I want." - Drop the LoRA weight by 0.05, increase the control weight by 0.05 and try again. Keep repeating until the problem is fixed.
"The character's clothes wouldn't change to the ones I want or only partially." - Decrease the LoRA's weight by 0.1, put the character's default clothes prompts into the negative prompts section and enclose them within parentheses with up to 1.5 strength modifier. Example - (jacket, white shirt, necktie, formal clothes:1.5). Do the opposite for the clothes you want the character to wear.
"Why "CHEEKY" fix?" - Because it doesn't work consistently. 3 things might happen:
1. It worked and you get the desired image.
2. It didn't work and you got the similar image with the same flaws or very similar to it.
3. It didn't work and gave you completely different image.
You also have to remember to change seed back to -1 before the step two.
More on the cheeky seed fix below in the "Cheeky fix and manual fixing section"
"Why do your works differ by style and quality?" First - I haven't yet learned how to make them all uniform and don't know if it's even possible with the instruments I use. Second - Not all LoRAs are created equal. Some are very flexible and high quality - absolute joy to work with. Others, not so much. Often, LoRAs carry with them a particular drawing style that is impossible to fully get rid of. If it's possible, I don't know how, yet. ( NOTE: I finally figured out how to keep works more or less consistent quality/style-wise )
Same goes for pose and angle. Not all LoRAs are flexible enough for AI to draw them the way I want. It's pointless to attempt to brute-force AI by increasing the ControlNet weight because you'd simply get a monstrous anatomy.
---------------------------------------------------------------------------------------------------+
Cheeky seed fix and manual fixing SECTION. ( NOTE: Haven't used cheeky seed fix in months, I don't know how relevant this still is. )
Cheeky seed fix - use this when you got a great step one image, but it has just one or two details badly off that ruin it. Click on this image, there's the "seed section" in it. Copy the string of numbers there. Repeat the generation process, but this time add that string of numbers instead of -1 in the seed section. IMPORTANT - DO NOT CHANGE ANYTHING ELSE EXCEPT FOR THE SEED, OTHERWISE IT'S GUARANTEED NOT TO WORK. Also, don't forget to change the seed back to -1 again before the step two. It caught me off guard so many times at first and will catch you too.
As mentioned in the FAQ section above, it might not work. I don't know why sometimes it does, sometimes it doesn't. The cheeky seed fix does not work for the step two.
If the cheeky seed fix didn't work you can always try and fix the image manually yourself through MS paint, Photoshop or any other application of the similar kind.
You can fix the step one images yourself to begin with, bypassing the cheeky seed fix. The manual fix can be very crude, you don't need to do it pixel perfect. Just enough to be able to tell the difference.
 ×
×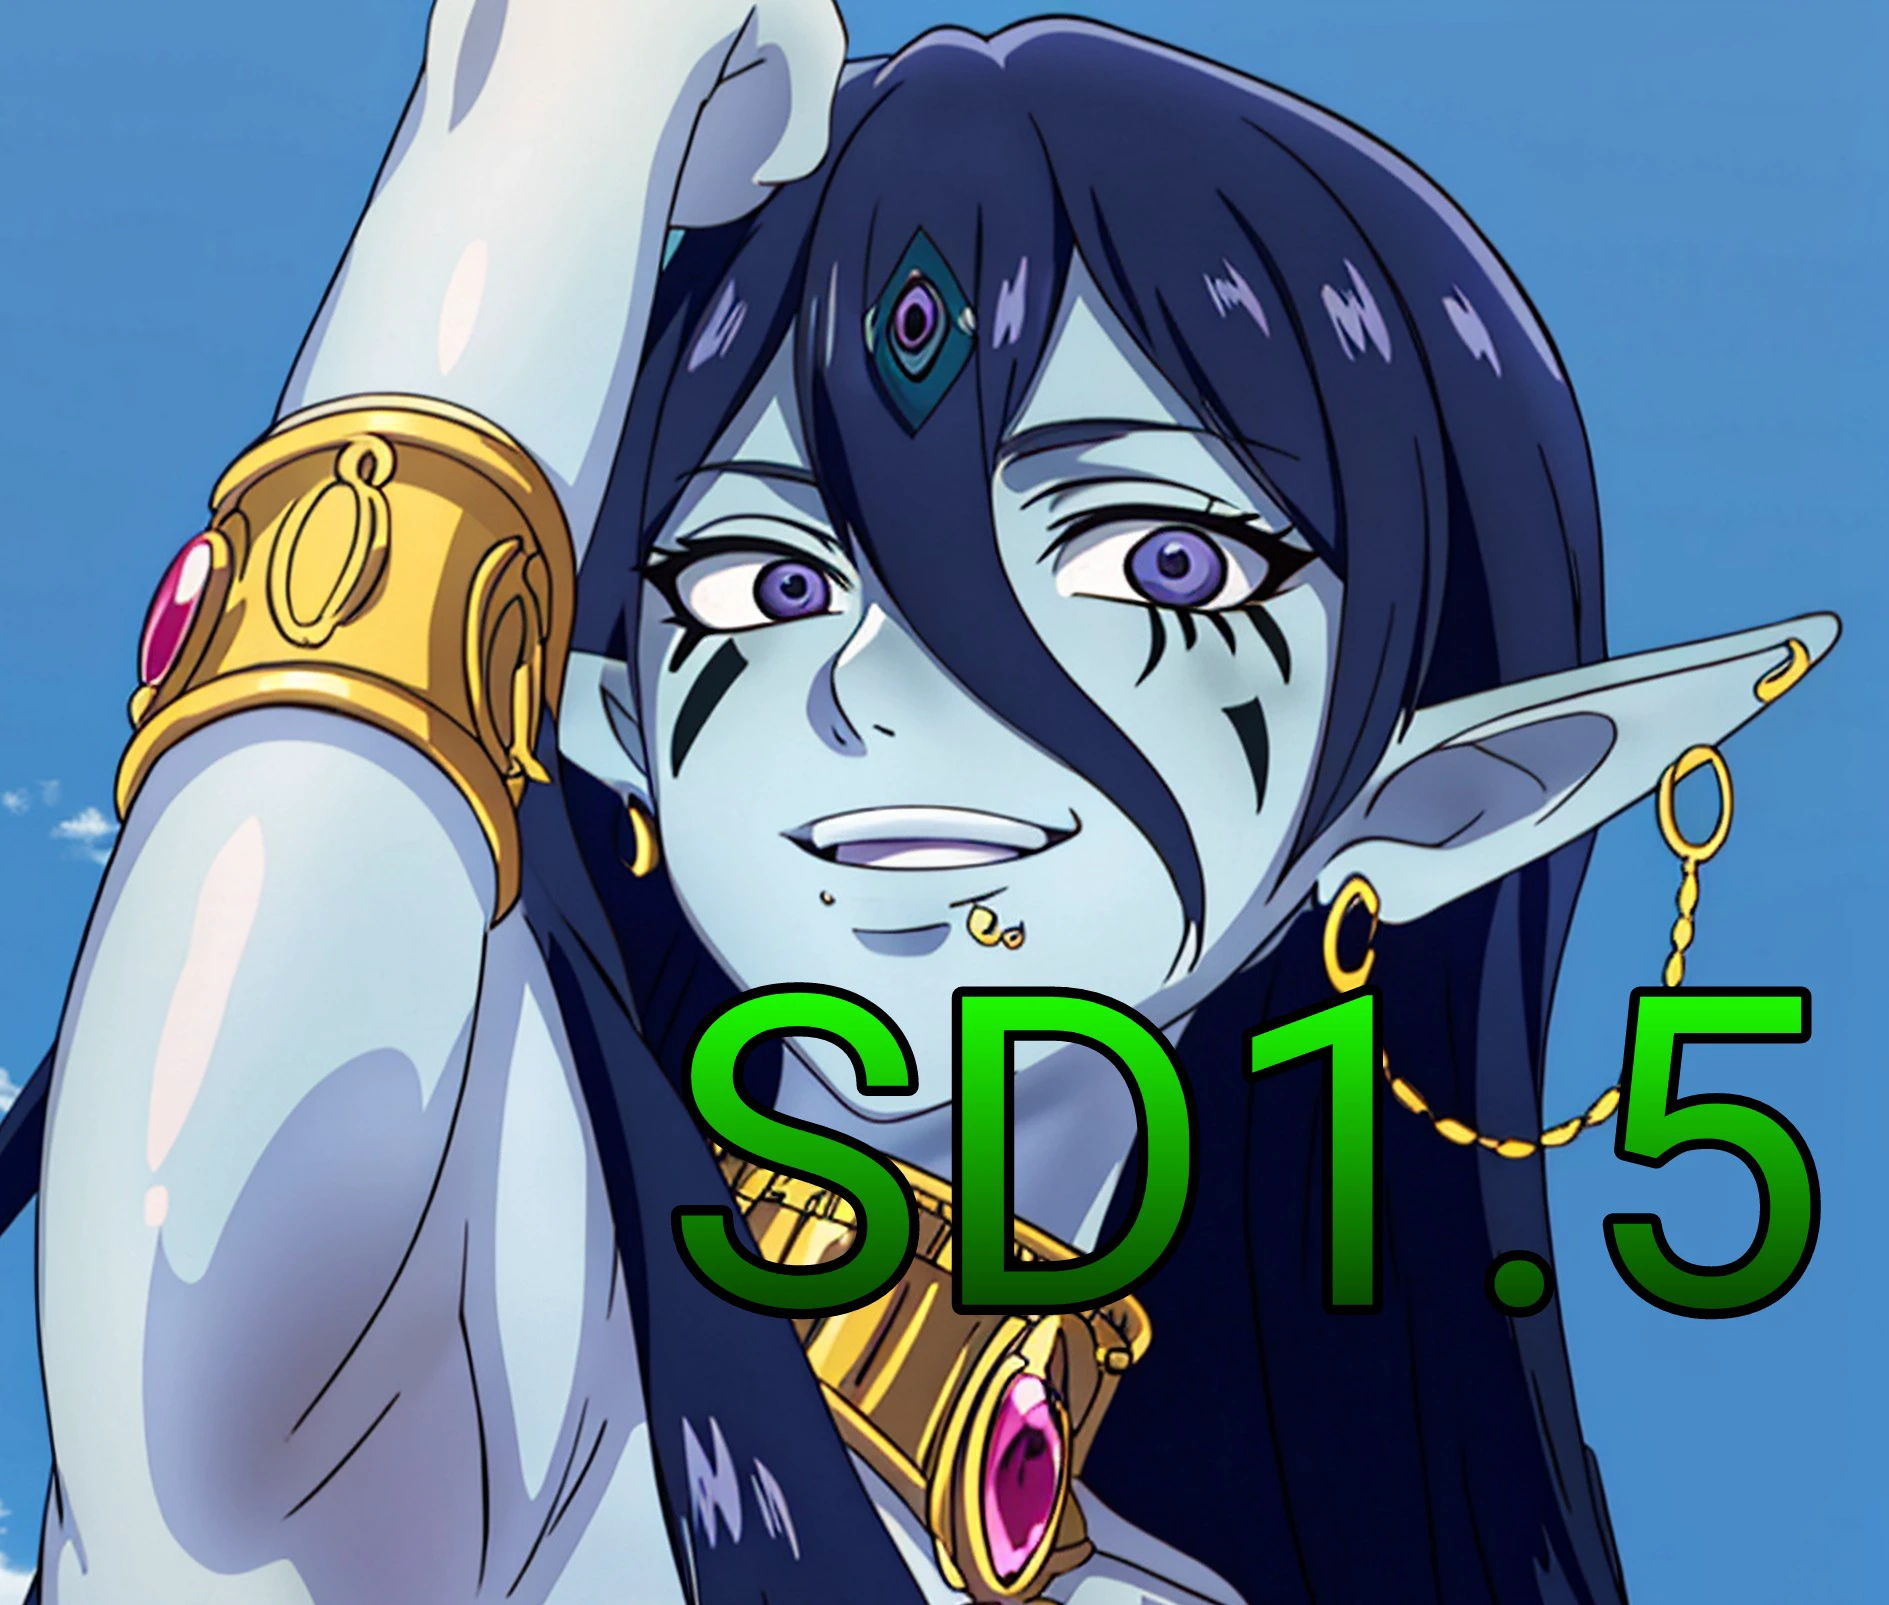
SD1.5 GENERATION GUIDE by WakiStorage01
P

Passerby409
Updated on Oct 24, 2024
0
0
0
0 comment
0
0
0
Related Articles
More